Replacing Hinges
Disclaimer: I am not responsible for anything caused by
you following procedures described here.
Here I describe the procedure to replace the hinges of the Powerbook G3 Bronze (aka Lombard).
I'm almost sure that the procedure is equal for the Pismo.
Just to refresh your memory, the Wallstreet is thicker and heavier than the Bronze,
and the Pismo is a Bronze with firewire instead of SCSI.
There are a lot of pages on this (for instance,
here,
here,
here,
here, and
here),
but they all deal with the Wallstreet
which has slightly different housing and disassemble procedure.
Nevertheless,
Robert Westbrook's page was very useful to me.
The whole procedure, including reassembly, will probably take 3 hours
if repairing electronics is not your profession (as in my case).
There are a few symptoms caused by broken hinges. First, you may hear that something is loose inside the display. High chances that this is a metal part from your clutch. Second, the display will open and close easier. If both clutches are broken, it will not even keep up by itself, but if it came that far you probably missed the earlier symptoms. Third, the broken clutch may cut into your video flatcable, causing display malfunctions and worse.
First, the hard and expensive part: getting new hinges (and a new flatcable if you're unlucky).
Those are pretty hard to get, but a few dealers in the US can send them.
I got mine from pbparts.com.
They costed about $200 including
packaging etc.
If you know which one is broken you may decide only to replace
the broken one, probably cutting the costs by half, but on the other hand
the other clutch may be close to its end too so it may be a good idea to replace
both at once... Some people could get hinges cheaper, by ordering via a willing
dealer, but in the Netherlands it seems that even the dealers can't get those
hinges.
Be careful to get the right ones: the Wallstreet hinges are apparently sold as
a pair. The Lombard and Pismo have the same right screen support, but their left
screen support differs as the Pismo hinges also have space for
an airport antenna. I heard you can use a Pismo left hinge in a Lombard.
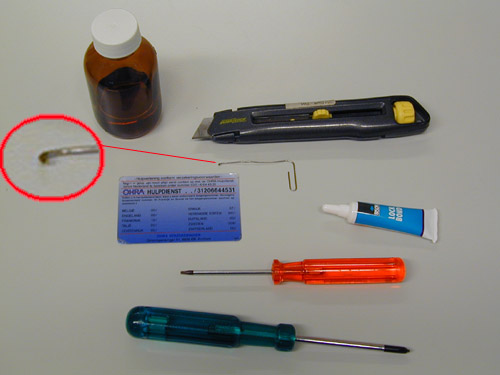
For opening the laptop for hinge replacement or hinge checking, you need the following tools: a torx screwdriver (size #8), a small flat screwdriver, a standard philips screwdriver (as far as I know large ones fit on small screws about just as good, as long as the head is undamaged) , a stanley knife, a paperclip with a short, 90° bent at the tip, an old creditcard or some other thin piece of plastic such as a plastic knife, and - optionally but for fastening the screws properly - blue loctite and alcohol or something else to degrease the screws.
There are five steps in the procedure:
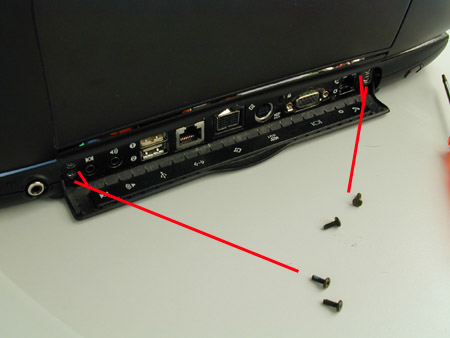
0. Detach all cables, power supply and all batteries.
1. Remove the clutch house covering
2. Separate the LCD (the panel including its housing) from the computer,
3. Split LCD display from its housing, and
4. Replace the hinges on the display.
And of course the reverse steps to close up the stuff.
For inspection only, steps 0, 1 and 2 (if you're lucky only 0 and 1),
or alternatively steps 0 and 3, are sufficient.
I never tried to do only step 0 and 3, that is remove the
plastic back from the LCD display without separating the LCD from the computer,
but it must be possible and seems quicker than steps 0, 1 and 2.
You can see on this figure of the 14.1" display
from Robert Westbrook's page
that the LCD display itself is
attached to the computer, and the housing of the display is attached to the display.
To replace the hinges, we have to do all steps, because there are wires running through
both hinges.
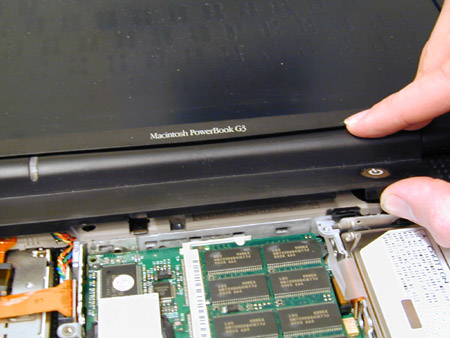
Start with removing the keyboard (no need to detach it, just lay it upside down on the trackpad). Remove the processor coolplate by removing the three screws and lifting up the plate (see the figure below). Carefully note how the plate comes out, you have to get it in again!
Now we dismount the clutch cover plate - the plate holding the power button.
It has two snap-tabs on the front side, and two on the back side.
Put the hook on the paperclip under the clutch cover plate exactly at
the place of the left tab, and pull the plastic slightly forward so that
the plate can be lifted over the tab. This requires some force, be sure
to apply the right amount at the right place. Peek at the photos further below to see
where the snap-tabs are exactly. Do the same for the right tab.
Now we can lift up the clutch cover plate at the front side, so that
it rotates upwards around the back snap tabs (flip the screen backwards
far enough to do this). If rotated up far enough the plate will come
out easily.
| Pull cover plate forward with the paperclip, lift it over the tabs... | and lift the plate. |
Now you can see the snap-tabs:
| Left front snap tab | Right front snap tab |
You can also see part of the left and right clutches. If you were going for inspection only, You can try removing the screws that hold the display (see below), and to try to feel play in the clutches. Be careful not to lift the display, as the wires are still all attached and very short.
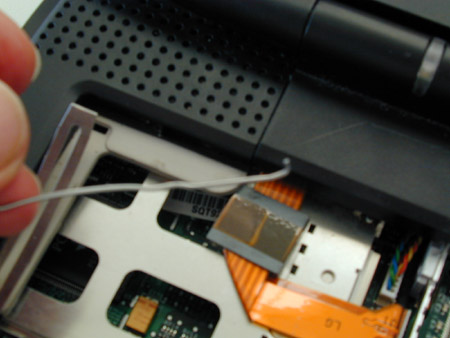
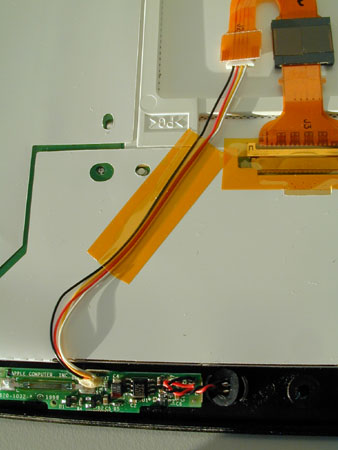
Disconnect the main display connector, by pulling it up gently. Pull free the LCD power cords from under the housing and clip. The power cord connector has a snap-tab, so you can't pull it out straightforward. Instead push open the tab with a small screwdriver or a piece of plastic, and pull out the plug with some force.
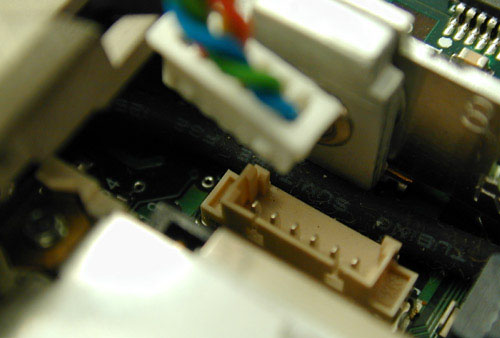
| Disconnected main display connector | Display power connector with snap-tab |
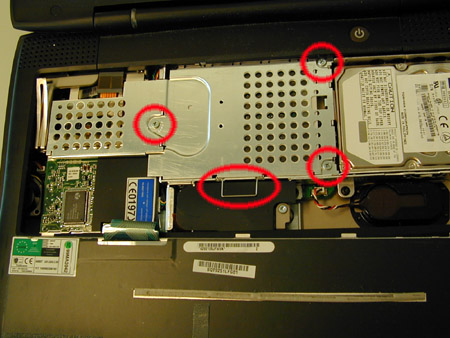
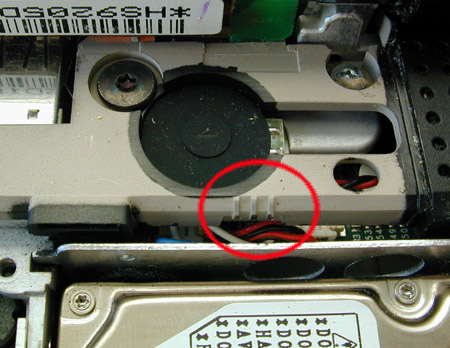
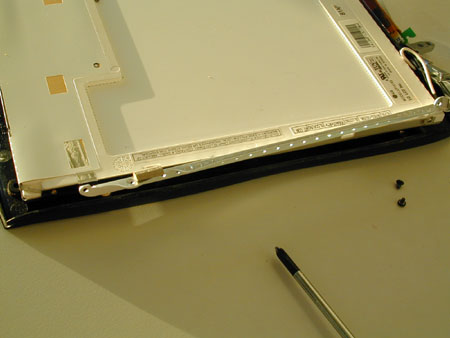
Remove the four screws on the back of the compu, that attach the clutches to the housing
(see figure). Slide the invertor board slightly to the left (figure). Now it should
be possible to lift the entire LCD straight upwards.
Now you should be able to feel which clutch has play and thus is broken.
| Disconnected main display connector | Slide inverter board to the left |
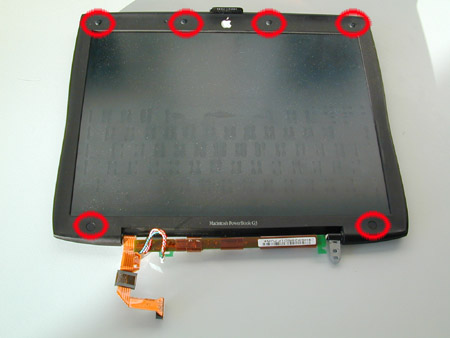
To separate the LCD from its housing, first remove six screws: four from under the top of the housing (under the rubber buns) and two under the disks. All buns and circles are just glued onto the screws, pull them out and be sure that you get them out with the adhesive layer as well so that you can stick them back in later. You can use the stanley knife to get out the disks.
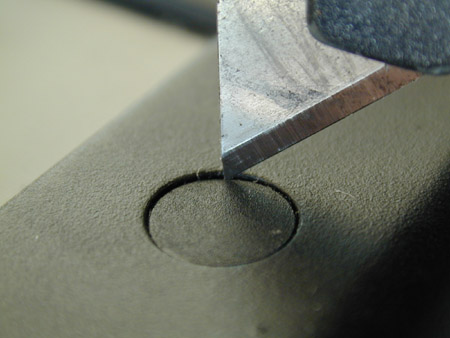
| Unscrew screws under the plugs and disks | Maybe you need a knife to remove the disks |
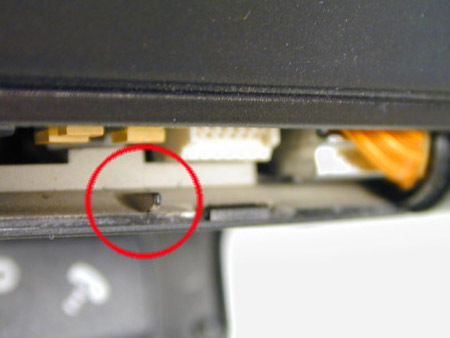
Now push the credit card between the crack between the front and back part of the display housing to push the sides apart. In contrast with the Wallstreet, there are no snap-tabs here, but only a few snap-slits (see figure). Now the back of the display housing is removed, and you can see which hinge is broken.
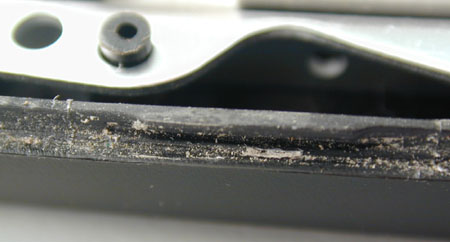
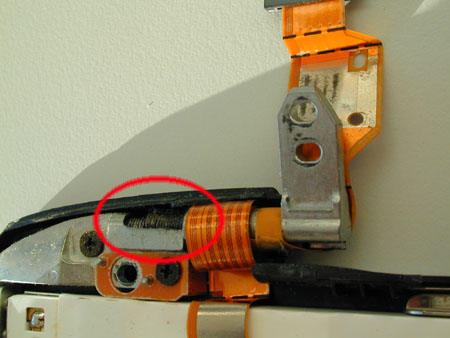
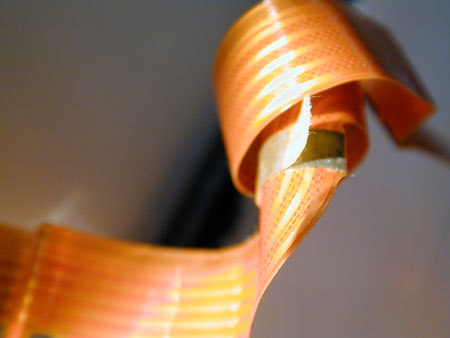
| Snap-slit in display housing. | Broken clutch |
You can now try to pull out part of the broken hinge, to avoid the grease to
get all over the flat cable.
Remove the four screws attaching the display to the front part of the housing.
Be careful, we will not detach the microphone and display close-switch,
because the wiring is all taped and the magnetic switch is quite fragile and
taped with double-sided tape. Therefore, the display has only limited freedom.
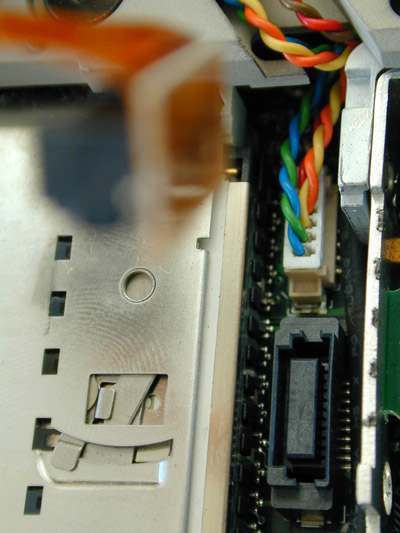
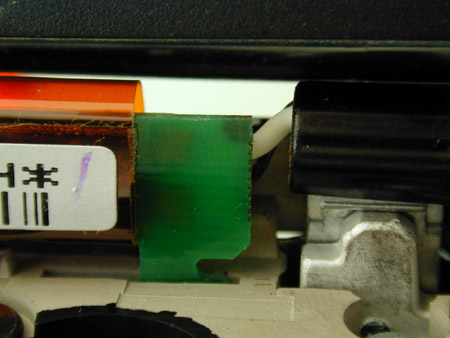
Carefully detach the tape fixing the flatcable around the left hinge, because
you have to put it around the new hinge. Note the black mark that indicates where
the tape should attach to the flatcable for proper spacing with the hinge.
| Do not remove mike, it is all taped heavily. | Carefully untape the flatcable |
Finally, you can unbolt the hinge, replace it and close up the machine!
Carefully put back all things as you found them.
Clean all screw holes with alcohol or benzine, and put loctite on the screws.
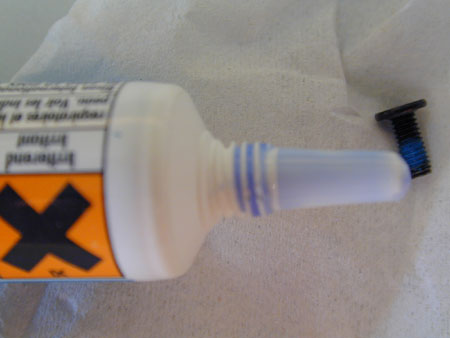
| Replace the hinge! | Put loctite on all screws when closing up |
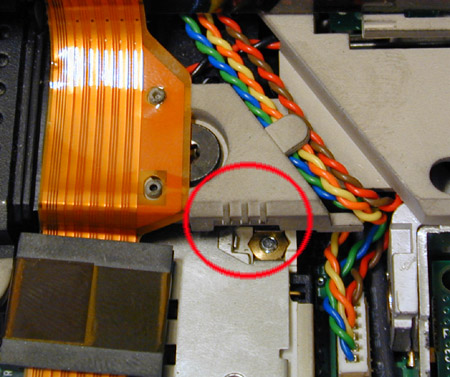
Now you have your machine opened, it may be a good idea to check two screws under the clutch cover (figure). These are essential to hold the display in place, but mine were pretty loose. If so, remove, clean, loctite and tighten them.

 These screws may be loose.
Assuming you succeeded, congratulations in saving over $200! (the average repair bill from Apple for this is over $400). Please inform me if you have any comments or additions.